Projects / 3D print · Shipped
Espresso Cup Holder
A two-piece, tool-free cup stand for the Rancilio Silvia Pro X.
- Printed parts
- 2
- Hardware
- None
- Lock
- Twist and click
- Skill
- Beginner
Overview
A short glass espresso cup sits far below the spouts on the Silvia Pro X. The espresso splashes, and the cup slides around on the tray. This stand lifts the cup so the rim is 8 mm below the spouts.
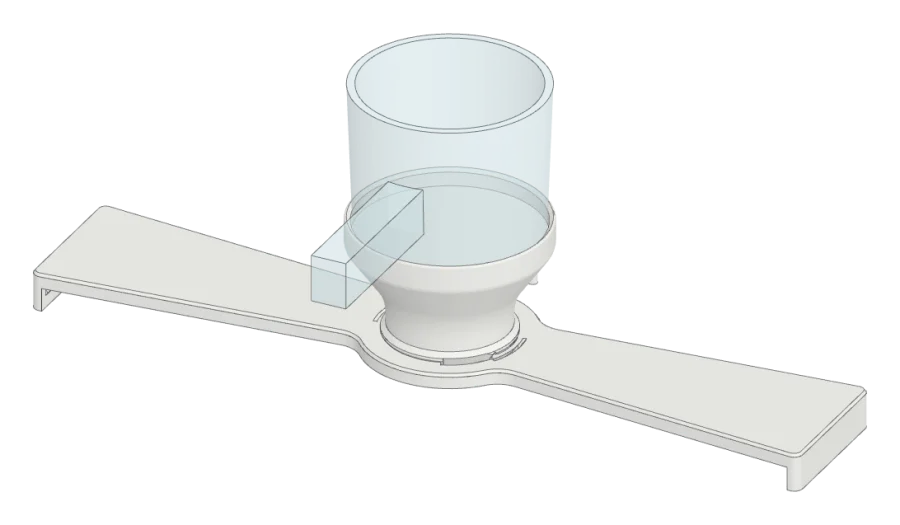
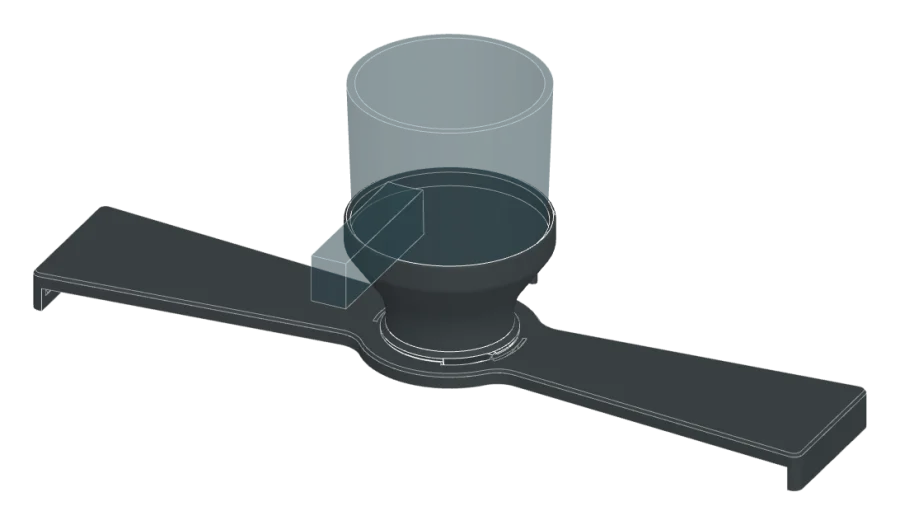
The stand has two printed pieces. The legs piece spans the cup tray and clips over its sides. The cup piece is a cradle on a pedestal. A twist lock joins them: drop the pedestal in, turn it 40°, and it clicks.
A fin on the back of the cup piece touches the front panel of the machine. Slide the stand back until the fin stops, and the cup is centered under the spouts every time.
The whole design is parametric. Every size is a named value in OpenSCAD (or FreeCAD), so you can fit it to a different cup or machine.
What you need
| Part | Qty | Type | Get it |
|---|---|---|---|
| Legs piece 266 × 58 × 13 mm | 1 | Download | |
| Cup piece Slice from the 3MF | 1 | Download | |
| Fit-test pair (optional) Hub and pedestal only, about 20 min | 1 | Download | |
| PLA or PETG filament PETG handles hot drips better | 1 spool | Buy | Prusament ↗ |
| Glass espresso cup 60 mm base, 53 mm tall, side handle Measure your cup. Set cup_base_d and cup_height if it differs. | 1 | Buy | Amazon search ↗ |
| Rancilio Silvia Pro X Grid at the 100 mm setting | 1 | Have | Rancilio ↗ |
Tools
- 3D printer — Bed at least 270 mm long, or print the legs piece on a diagonal
- Digital calipers — To measure your cup and tray
- Cura 5.x — The 3MF uses Cura per-object settings
Print settings
- Material
- PETG or PLA
- Layer height
- 0.2 mm (suggested)
- Supports
- None. Every overhang is 35° or less.
- Legs piece
- Upside down, top face on the bed (the STL is already turned)
- Cup piece
- Upright. Open the 3MF so the core prints as open infill.
- Walls
- Cup piece: 1 wall line (set in the 3MF)
Fit it to your machine
Open silvia_cup_holder.scad in OpenSCAD and use the Customizer. Change one value at a time, then print the fit-test pair to check it.
Stand slides on the tray: raise grip_interference by 0.2.
Legs are too hard to put on: lower grip_interference by 0.2.
Click is too stiff: set preload to 0.1, or arm_t to 1.4.
Click is too weak: set click_depth to 0.7.
Cup is not under the spouts: change panel_dist. A larger value moves the cup forward.
Portafilter hits the cup: raise spout_gap, or set spout_height to your grid setting.
Build it
Drag to turn · scroll to zoom · right-drag to pan
-
01
Print the fit test
- Print
silvia_cup_holder_fit_legs.stlandsilvia_cup_holder_fit_cup.stl. They are short and take about 20 minutes together. - Put the small pedestal into the hub with the two lugs over the two notches.
- Turn it 40° clockwise until it clicks.
- If the click is too stiff or too weak, see Fit it to your machine above. Change one value and print again.
Tip This step is optional, but it saves a long print if your printer runs tight or loose.
- Print
-
02
Print the two pieces
- Slice
silvia_cup_holder_legs.stlas is. It is already upside down, with the top face on the bed. - Open
silvia_cup_holder_cup.3mfin Cura. It loads the cup piece with a core modifier. - Use your normal infill. The core prints as open infill with no walls, so drips drain through.
- Print both pieces with no supports.
Caution Slice the cup piece from the 3MF, not a bare STL. A bare STL prints a solid floor, and water pools in the cradle.
- Slice
-
03
Drop the cup piece into the hub
- Hold the cup piece above the round hub at the center of the legs piece.
- Line up the two lugs on the pedestal with the two notches in the hub.
- Lower the pedestal into the hub. The cone on the pedestal seats in the hub.
Tip The lock has two lugs, so the legs piece can go on either way round.
-
04
Turn to lock
- Turn the cup piece 40° clockwise, seen from above.
- Stop when you hear the click. Two spring arms in the hub drop into grooves on the pedestal.
- The fin now points straight back, 90° to the bar.
Tip To take it apart, turn the cup piece counterclockwise and lift.
-
05
Clip the stand onto the cup tray
- Take the grid off the drip tray if it is in the lowest position. Set it to the 100 mm position.
- Hold the stand over the cup tray with the fin toward the machine.
- Push the legs down over the left and right sides of the tray. The small bumps inside the legs clip under the tray edge.
-
06
Slide it back to the panel
- Slide the stand toward the machine.
- Stop when the pad on the end of the fin touches the lower front panel.
- The cup cradle is now centered under the spouts.
-
07
Set the cup and pull a shot
- Put the glass cup into the cradle with the handle over the low side.
- Lock in the portafilter. It clears the rim by about 8 mm.
- Pull a shot.
Tip To clean the tray, lift the cup out and slide the stand forward. The stand comes off with the tray.
Downloads
Licenses and credits
The design, the print files, and the documents are © 2026 Jeremy Collins under CC BY 4.0. The scripts are MIT.
Rancilio and Silvia are trademarks of Rancilio Group. This project is not affiliated with Rancilio.