Hardware
The Slate v4
A Raspberry Pi Touch Display 2 with a Raspberry Pi 5 on its back, in a printed desk case: a navy case on an orange base.
The Slate v4
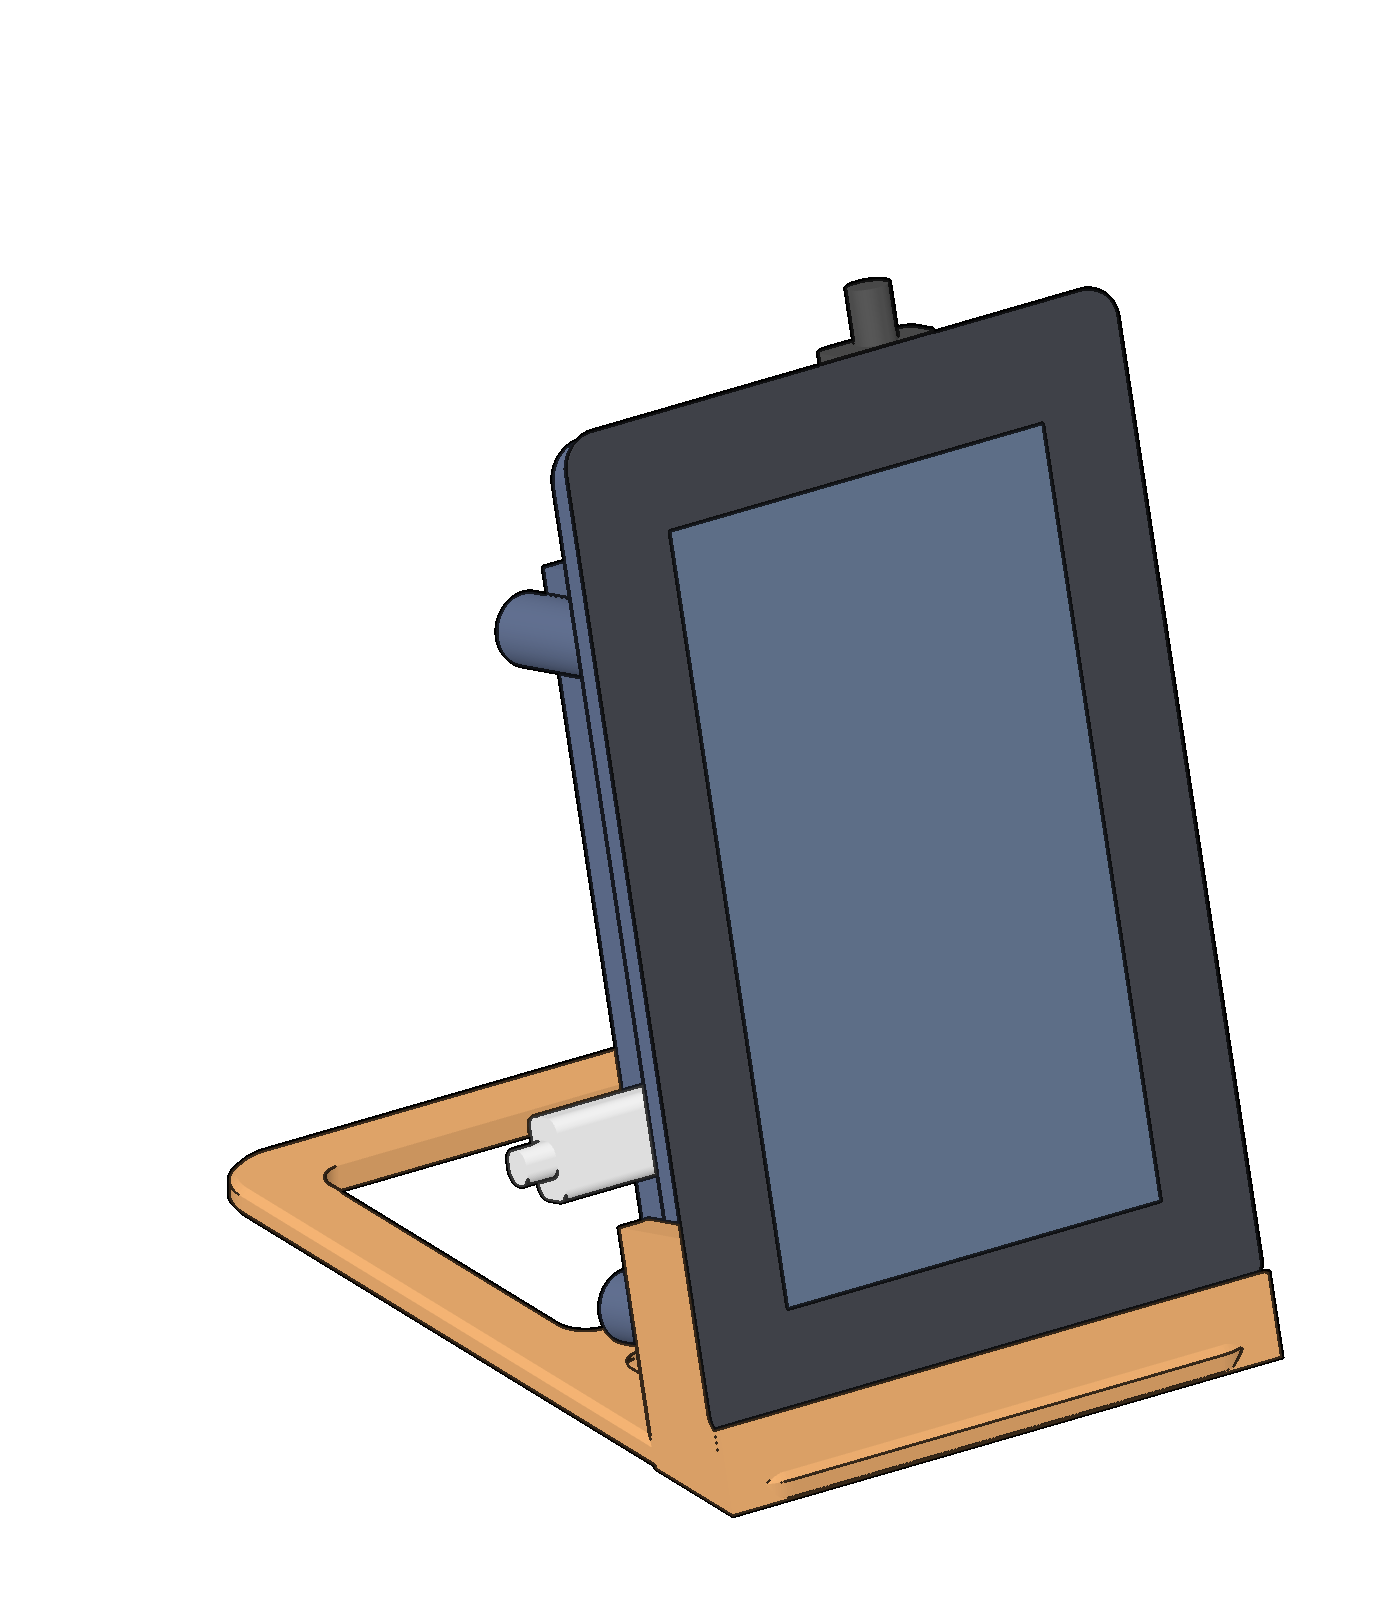
The Slate v4 replaces the pod. It is a desk case for the Raspberry Pi Touch Display 2 (5 inch, tall) and the Raspberry Pi 5 with its Active Cooler. The navy case has the shape of the pod, and it stands on an orange base on the desk, next to the printer. It leans back 15 degrees. Two M3 x 8 screws from behind hold the case on the base.
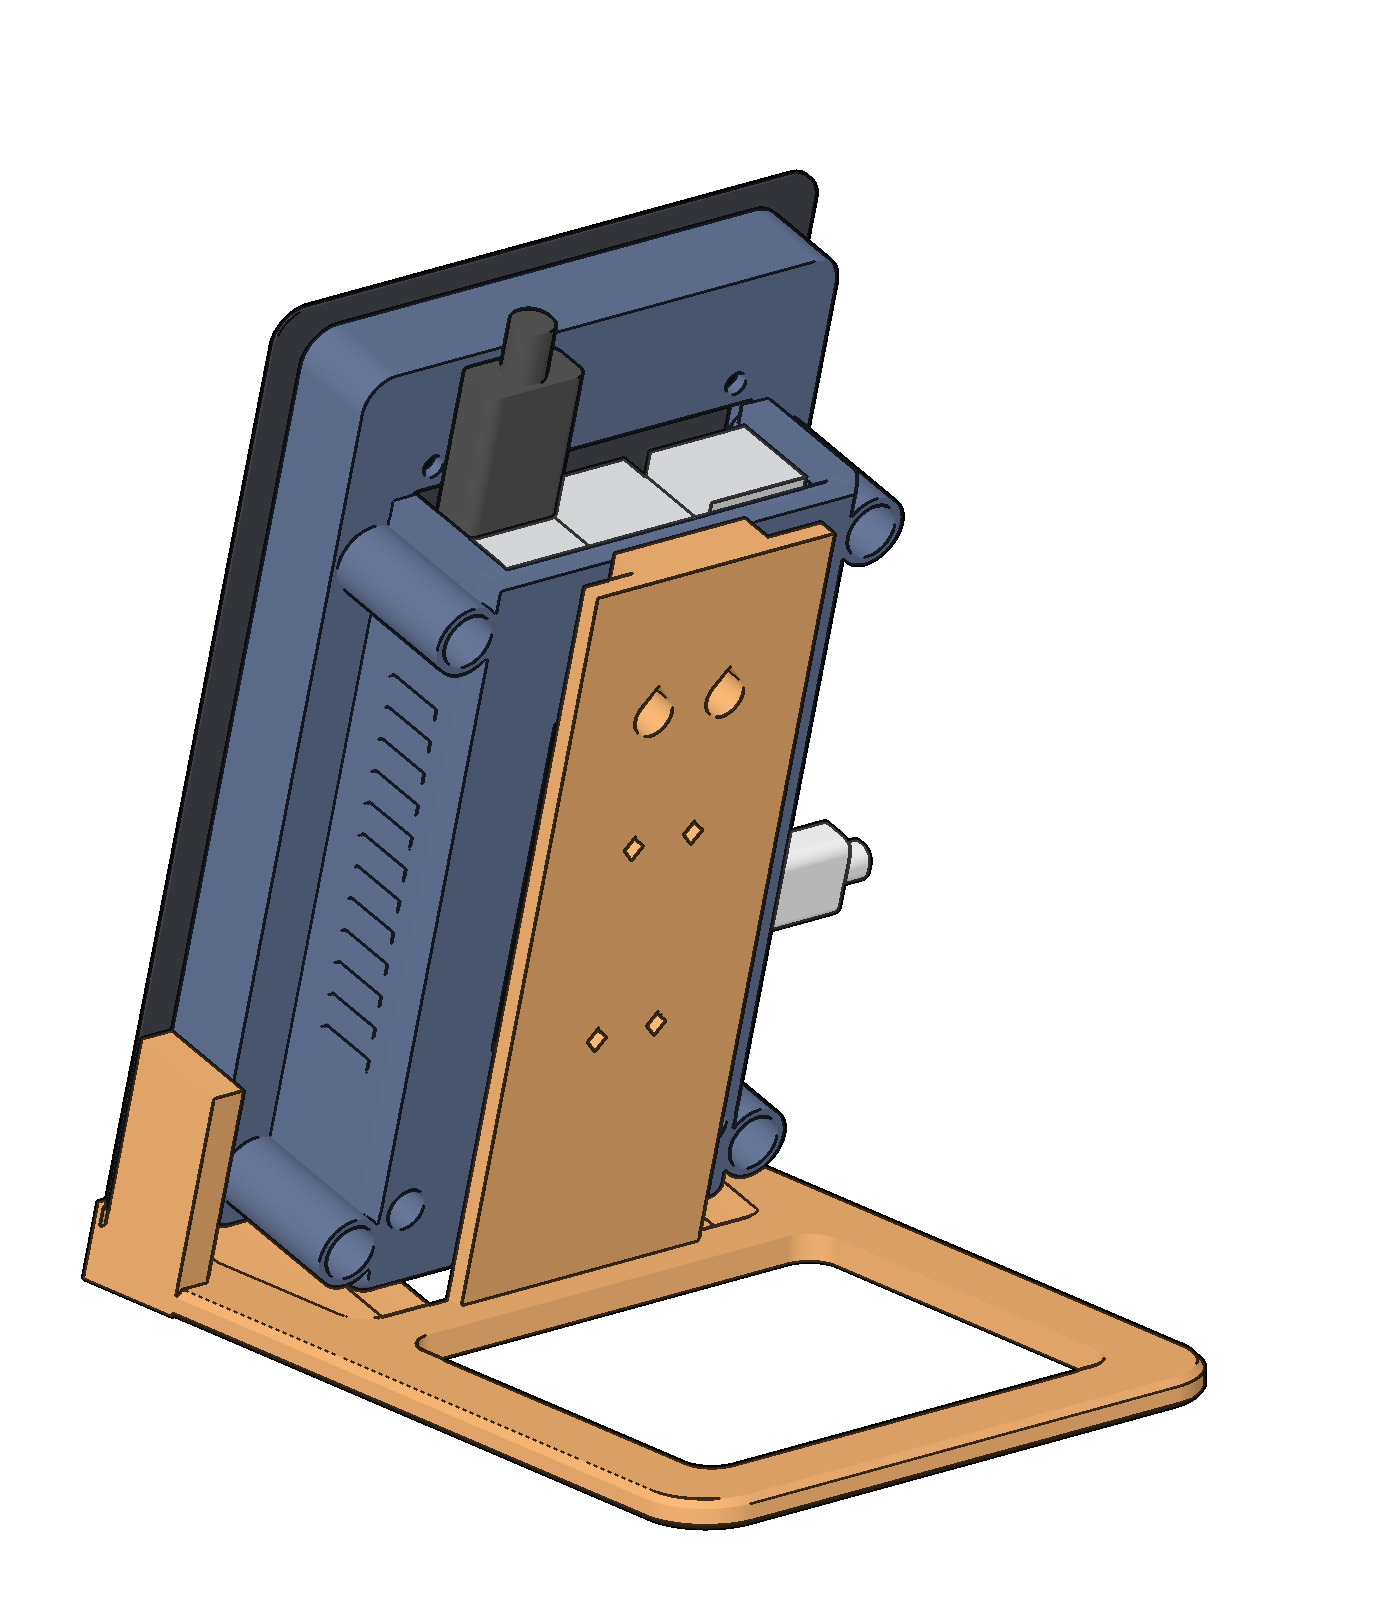
- Resin: two parts, the case and the base.
- FDM: three parts, the frame and the body of the case, and the base.
- The printer cable runs from the top of the case, down the back plate, to the printer. The webcam stays on the printer frame, and its cable runs to the Slate on the desk.
stl/slate/README.md has the print files, the hardware, the assembly and the checks. slate.py is the model.
The rest of this page is the pod, the earlier design: the case on a bracket on the printer.
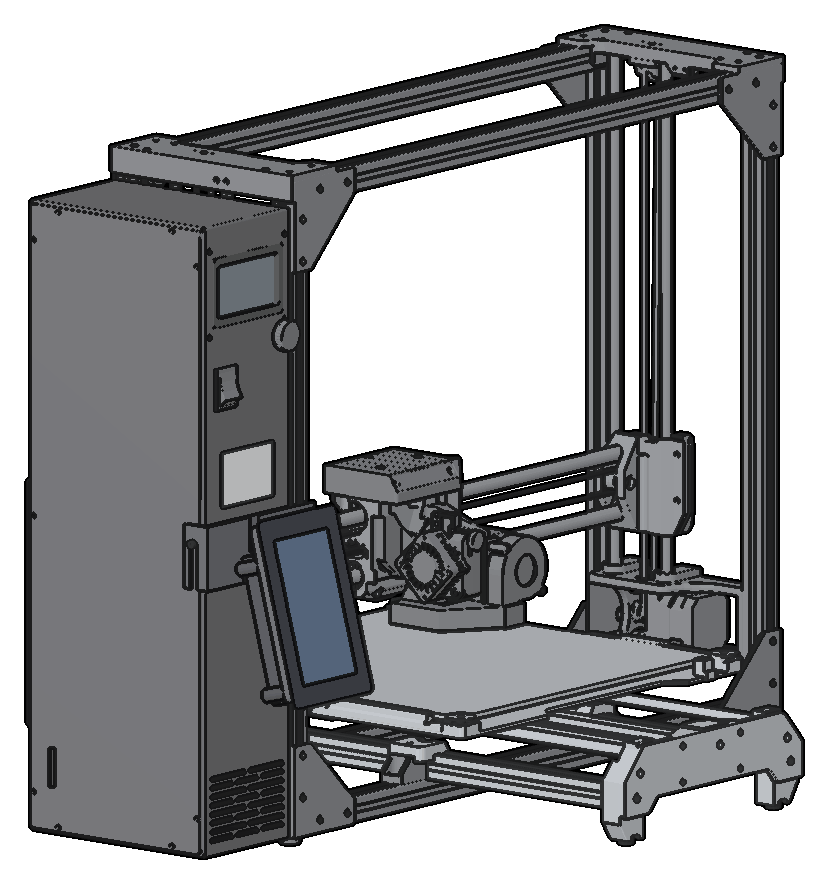
The pod is a Raspberry Pi Touch Display 2 (5 inch, mounted tall) with a Raspberry Pi 5 on its back, in a printed case. A printed bracket holds the pod on a TAZ Workhorse or a Mini 2.
stl/pod/README.md has the print files, the print settings, the hardware and the webcam option.
The pod
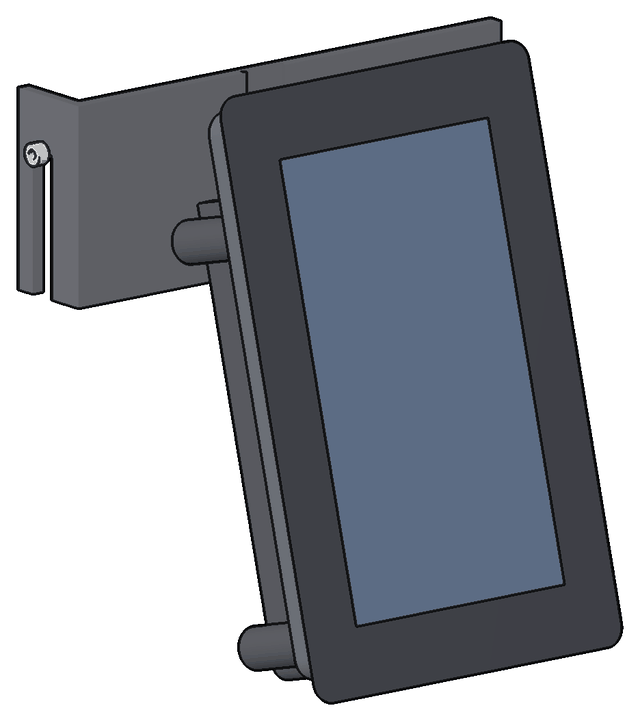
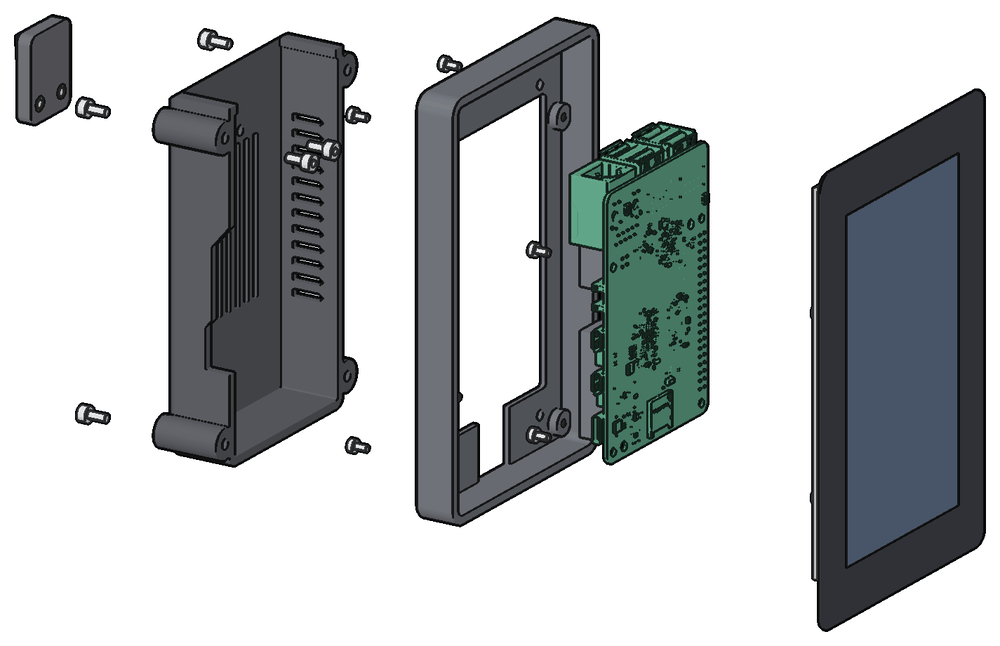
- The Pi 5 with its Active Cooler goes on the four standoffs of the display, USB ports up.
- Four M2.5 x 4 screws from the display box hold the frame to the four tabs of the display.
- Four M3 x 6 screws go from the back of the body into heat-set inserts in the frame.
- Two M3 x 6 screws from inside the body hold the mount to the body.
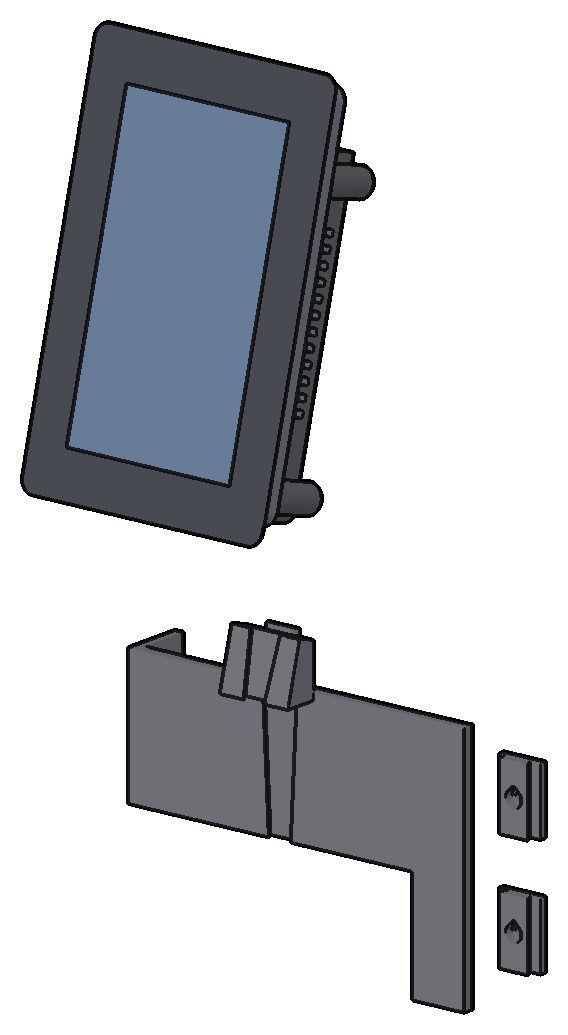
- The wedge slides down into the groove of the bracket. The dovetail of the mount drops into the slot of the wedge.
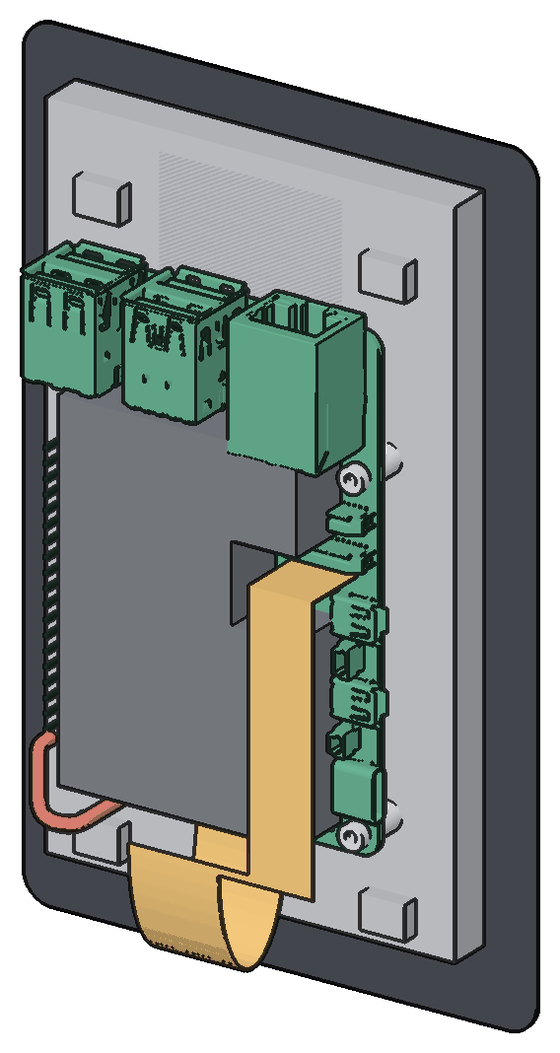
The display hangs with its ribbon end down. The power port and the micro HDMI ports are in the left wall. The USB-A and Ethernet ports are in the top wall. The printer cable plugs in from above.
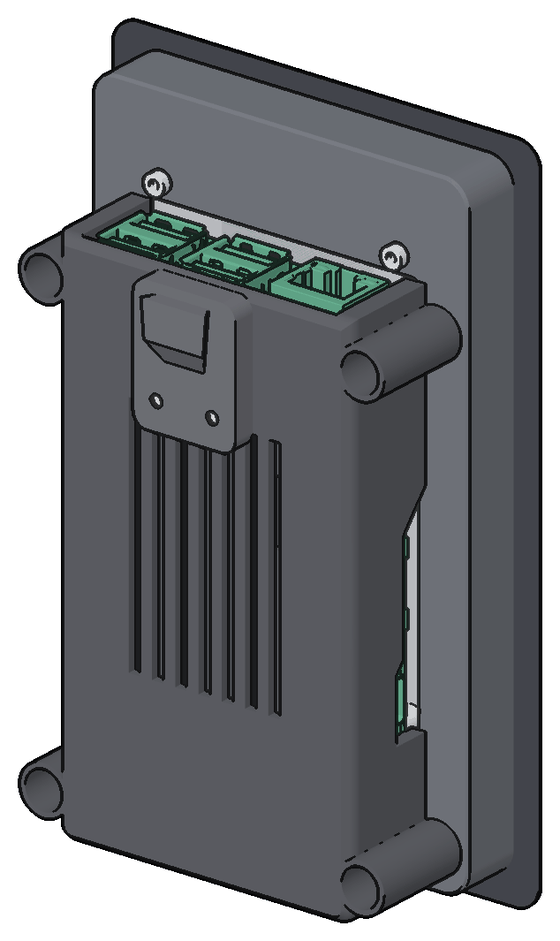
To remove the pod, lift it off the dovetail and pull it forward.
On the TAZ Workhorse
The pod goes at the front left, on the electronics chassis, below the logo. You drill no hole.
- Put two metal M3 roll-in T-nuts (2020) in the front slot of the rail.
- Hold each rail clip (
stl/clip.stl) to a T-nut with an M3 x 8 screw. Print each clip on its end, with a brim. - Put the bracket on the two rail clips. Its nub goes over the edge of the side cover.
- Fill the gap under the nub with shims, and tighten the upper front cover screw. See stl/pod/README.md.
- Connect the printer cable to the USB-B port on the rear of the chassis.
- Hold the printer cable and the power cable on the side cover with five single cable clips, on foam tape.
On the Mini 2
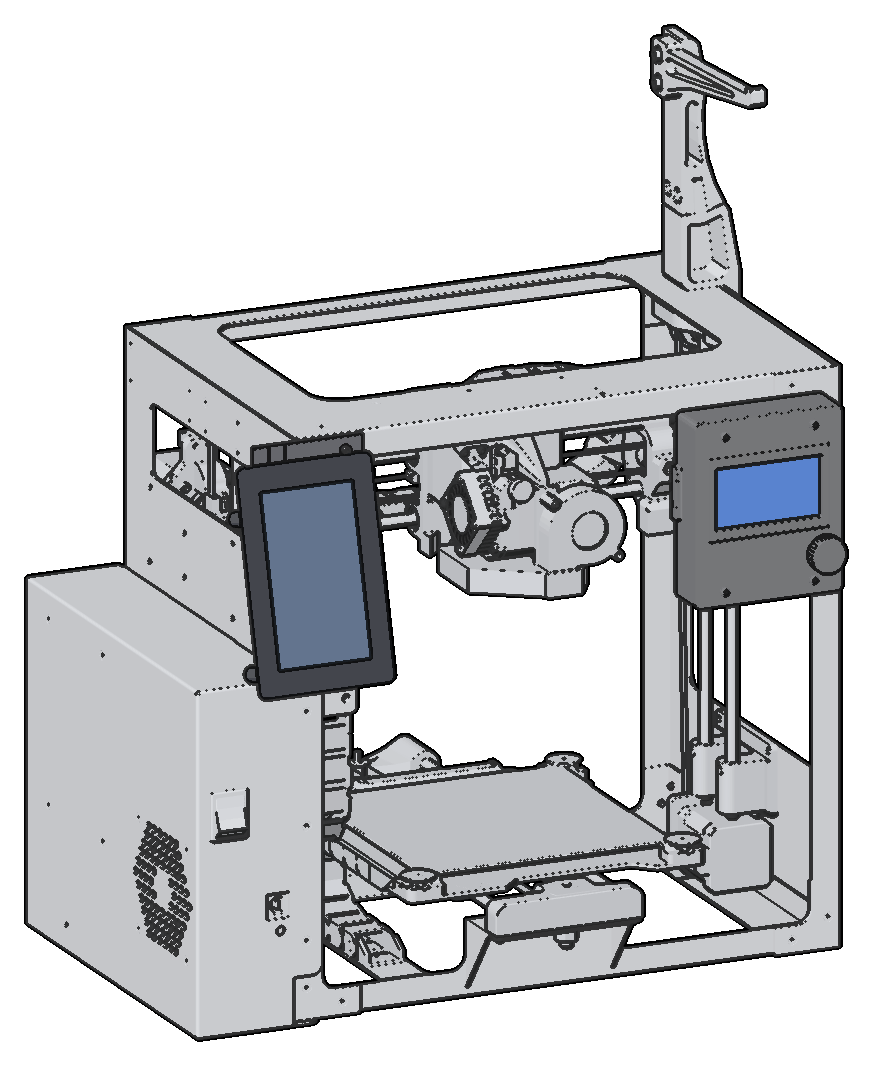
The pod goes at the top of the left upright. The stock LCD stays on the right upright.
- Remove the two frame screws of the top left corner. Hold the bracket there with two longer screws (M3 x 10 in the model).
- Connect the printer cable to the USB-B port in the front of the electronics case.
- Hold the printer cable with the two zip-tie anchors of the bracket.
- Hold the power cable and the printer cable on the electronics case with two double cable clips.
What you need
- A Raspberry Pi Touch Display 2, 5 inch. Its box has the DSI ribbon, the power wire and the M2.5 screws.
- A Raspberry Pi 5 with the Raspberry Pi Active Cooler.
- An SD card for Printdeck OS. See Install.
- The Raspberry Pi 27 W USB-C power supply.
- A USB cable from USB-A to USB-B, from the Pi to the printer.
- The printed parts and the hardware in stl/slate/README.md.
Software
The display hangs upside down, so turn the picture 180 degrees. Use the Screen row of Settings, or display_rotate=180 in printdeck.txt.
The print files
The files of the Slate v4, in their print orientation. The print page has the settings, the hardware and the assembly.
Resin
slate-base_resin.stlslate-case_resin.stl
FDM
slate-base_fdm.stlslate-body_fdm.stlslate-frame_fdm.stl
The pod page has the files of the pod and the brackets.
The design
The Slate v4 and the pod are build123d models in lulzbot/, on the CAD of the printers from LulzBot.
Files
slate.py: the model of the Slate v4, in build123d.slate.py exportwrites the print files tostl/slate/and checks them.slate.py checkgives the fit, tip and stiffness checks.pod.py: the model of the pod, the brackets and the wedge, in build123d.pod.py exportwrites the print files.pod.py overhangschecks them for faces that need supports.fit_holes.py: a fit test for the display holes of the frame.clips.py: the cable clips.camera.py: the webcam mounts.workhorse.py,parts.py,shape.py: the TAZ Workhorse CAD, the rail clip and the rail.live.py,viewer.py,cable_physics.py: the 3D window of the model.
The other files in this folder are for earlier designs. Printdeck uses the Slate v4 now. The earlier designs are a mount on the TAZ Workhorse with the Adafruit 7 inch HDMI display, a 2.5 inch drive and a 30 mm fan, and other layouts for that display.
model.py,make.sh,render.py,fit_display.py: the parts of the earlier mount, its checks and its renders.slate.pyalso usesrender.py.cad/,cura/: its STEP files and its Cura profiles.deckcase.py,deckview.py,pibox.py,kitview.py,tall.py: other layouts with the 7 inch display.
Reference files
ref/lulzbot/: LulzBot TAZ Workhorse v1.0.2 production files, from https://download.lulzbot.com/TAZ/TAZ_WE/v1.0.2/. License: GPLv3 or later and CC BY-SA 4.0 (COPYING,LICENSE-CC,LICENSE-GPL).ref/raspberrypi/: the product brief of the Raspberry Pi 27 W USB-C power supply.ref/adafruit/: the CAD and the data of the Adafruit displays and the HDMI backpack, for the earlier designs.
Needs
uv (build123d, trimesh, pyrender), and an OpenGL driver with EGL for the renders.